3.17. Remove Bone Tissue
3.17.1 Remove Bone Tissue Manually (Interactive)
Interactive bone tissue removal is performed by watershed method. To enable the interactive mode,
click on the arrow on the Remove Bones  button on the toolbar and check the Interactive
box.
button on the toolbar and check the Interactive
box.
To remove bone tissue:
-
Open the series containing bone tissue in the volume reconstruction window.
-
Activate the Remove bones
tool by clicking the left/right/middle mouse button.
To continue work with this tool, use the button with which the tool was activated. To
learn more about tool control, see Section 1.14. The tool initiation process may take some
time.
-
Set markers on the tissue that should not be deleted. To do that, click the mouse button with which the tool was activated on the tissue while holding the Ctrl key (or the Command key for macOS).
-
To delete bone and other tissue, click the mouse button with which the tool was activated on this tissue. The deletion process may take time.
-
To undo this action, click the Undo
 button; to redo the action, click the Redo
 button.
To set the tool parameters, cLick the arrow on the Remove bones button and select
Options....
3.17.2 Removing Bone Tissue Manually (Automatic)
You can remove the bone tissue for any series specifying the required parameters manually. To do
that, you need to disable the interactive mode of the tool. Click the arrow on the Remove bones
button on the toolbar and uncheck the Interactive box.
To remove bone tissue manually:
-
Open the series containing bone tissue in the volume reconstruction window.
-
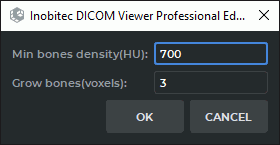
Click the Remove bones
button on the toolbar. A dialog box (Fig. 3.16) will
pop up.
-
Set the Min bones density(HU) value in the dialog box. All tissues whose density exceeds this value will be deleted. If you set the minimum bone density value equal to the surface layer density, some tissues other than bones may be removed as well.
-
Set the Grow bones (voxels) value. This value allows you to set the thickness of the soft bone surface layer in voxels.
-
Click the OK button to remove bones or CANCEL to cancel.
-
As a result of the operation, bone tissues are removed. Other tissues adjacent to bone tissue, such as vessels, are not deleted.
All these values should be adjusted experimentally. The default values are not optimum.
To remove bone tissues with a lesser density, click the Remove bones button and reduce
the minimum bone density value. If the value turns out to be too small, undo the last removal using
the Undo button, and increase the minimum bone density value during the next
removal.
 | Some tissues that are different from bone structures may be deleted by mistake. This function should only be used as an auxiliary. The diagnosis should be established on the basis of the original images. |
This tool is also available from the Volume main menu item.
3.17.3 Remove Bone Tissue for Fused Series
____________________________________________________________________________________________
Functionality is available in the Pro edition
____________________________________________________________________________________________
This tool is used for angiographic and other studies containing at least one series with contrast and one series without it for the same body area.
To remove the bone tissue:
-
Fuse the series with contrast and without it in the Series fusion tab (see Chapter 4). The series fusion is stored in the local storage in the same study.
-
Open the fused series in the Volume reconstruction or MPR reconstruction tab. To do this click the
 or
or  button on the toolbar or select the corresponding
command in the View section of the main menu.
button on the toolbar or select the corresponding
command in the View section of the main menu.
-
In the layer list select the series with contrast. By default, the first series is selected.
-
Click the Subtract bones (Choose layer to subtruct from first)
 button on
the toolbar.
button on
the toolbar.
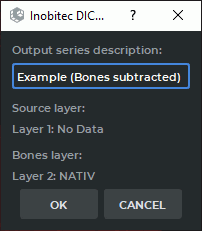
In the dialog box (Fig. 3.17) that opens, enter the name of the new series. By default, the new series is named <Name of the first layer>(Bones subtracted). Under the name of the new series, the names of the layers for the created series are displayed. Click OK to create a new series or CANCEL to cancel. The process may take some time. Upon completion, a series without bones will appear on the series panel for this study.
-
Go to the Local storage tab. Open the new series in the Volume reconstruction or MPR reconstruction tab. To do this click the
or button on the toolbar or select the
corresponding command in the View section of the main menu.
-
Change the current CLUT to the CT-Bones on the visualization setup panel (see Section 2.23).
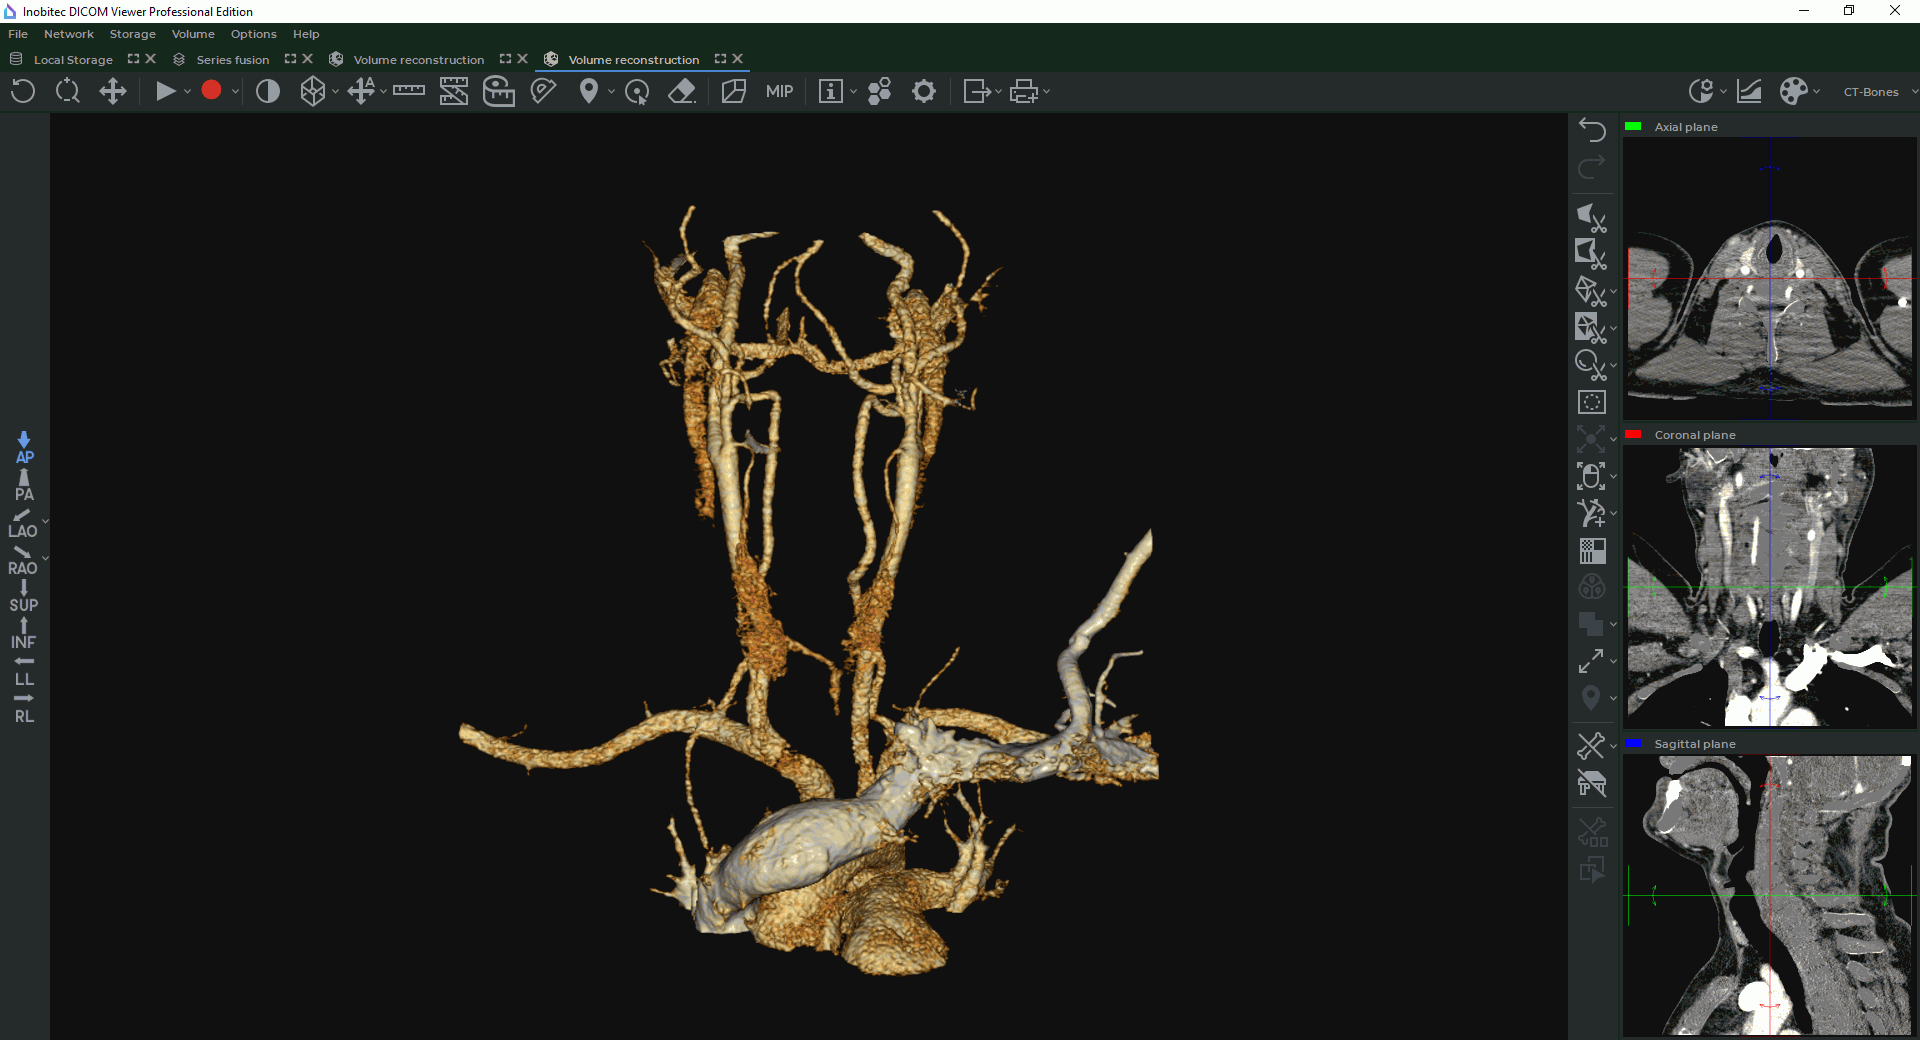
If required, edit the image removing bone tissue with editing tools.
| | Some tissues that are different from bone structures may be deleted by mistake. This function should only be used as an auxiliary. The diagnosis should be established on the basis of the original images. |