2.10. View Multiple Series
There are several modes for positioning series windows in the study window.
You can choose the mode for arranging series in the study window in the  Series
arrangement button menu. There are three ways to open this menu:
-
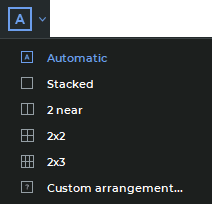
Click the arrow on the right-hand side of the Series arrangement button on the toolbar and select the arrangement mode from the drop-down menu (Fig. 2.12).
-
Move the cursor to the window with the open series, right-click and select Series arrangement command from the shortcut menu.
-
Select Series arrangement from the Image section of the main menu.
You can choose from the following series arrangement modes:
-
Automatic — the default series arrangement mode (see Section 2.10.1);
-
Stacked — only one series window may be opened in the study window (see Section 2.10.2);
-
2 near — the study window is divided into two parts (see Section 2.10.3);
-
2x2 — the study window is divided into four parts (see Section 2.10.3);
-
2x3 — the study window is divided into six parts (see Section 2.10.3);
-
Custom arrangement... — the user customizes the arrangement of series windows (see Section 2.10.4)
The current series arrangement mode is highlighted in blue on the toolbar and on the menu.
There are several ways to maximize any of the series windows to full screen and restore its size:
-
click on the
 Expand button in the right-hand upper corner of the series window;
-
double-click with the left mouse button on the title of the series window;
-
double-click with the left mouse button on the series window.
2.10.1 Auto Mode
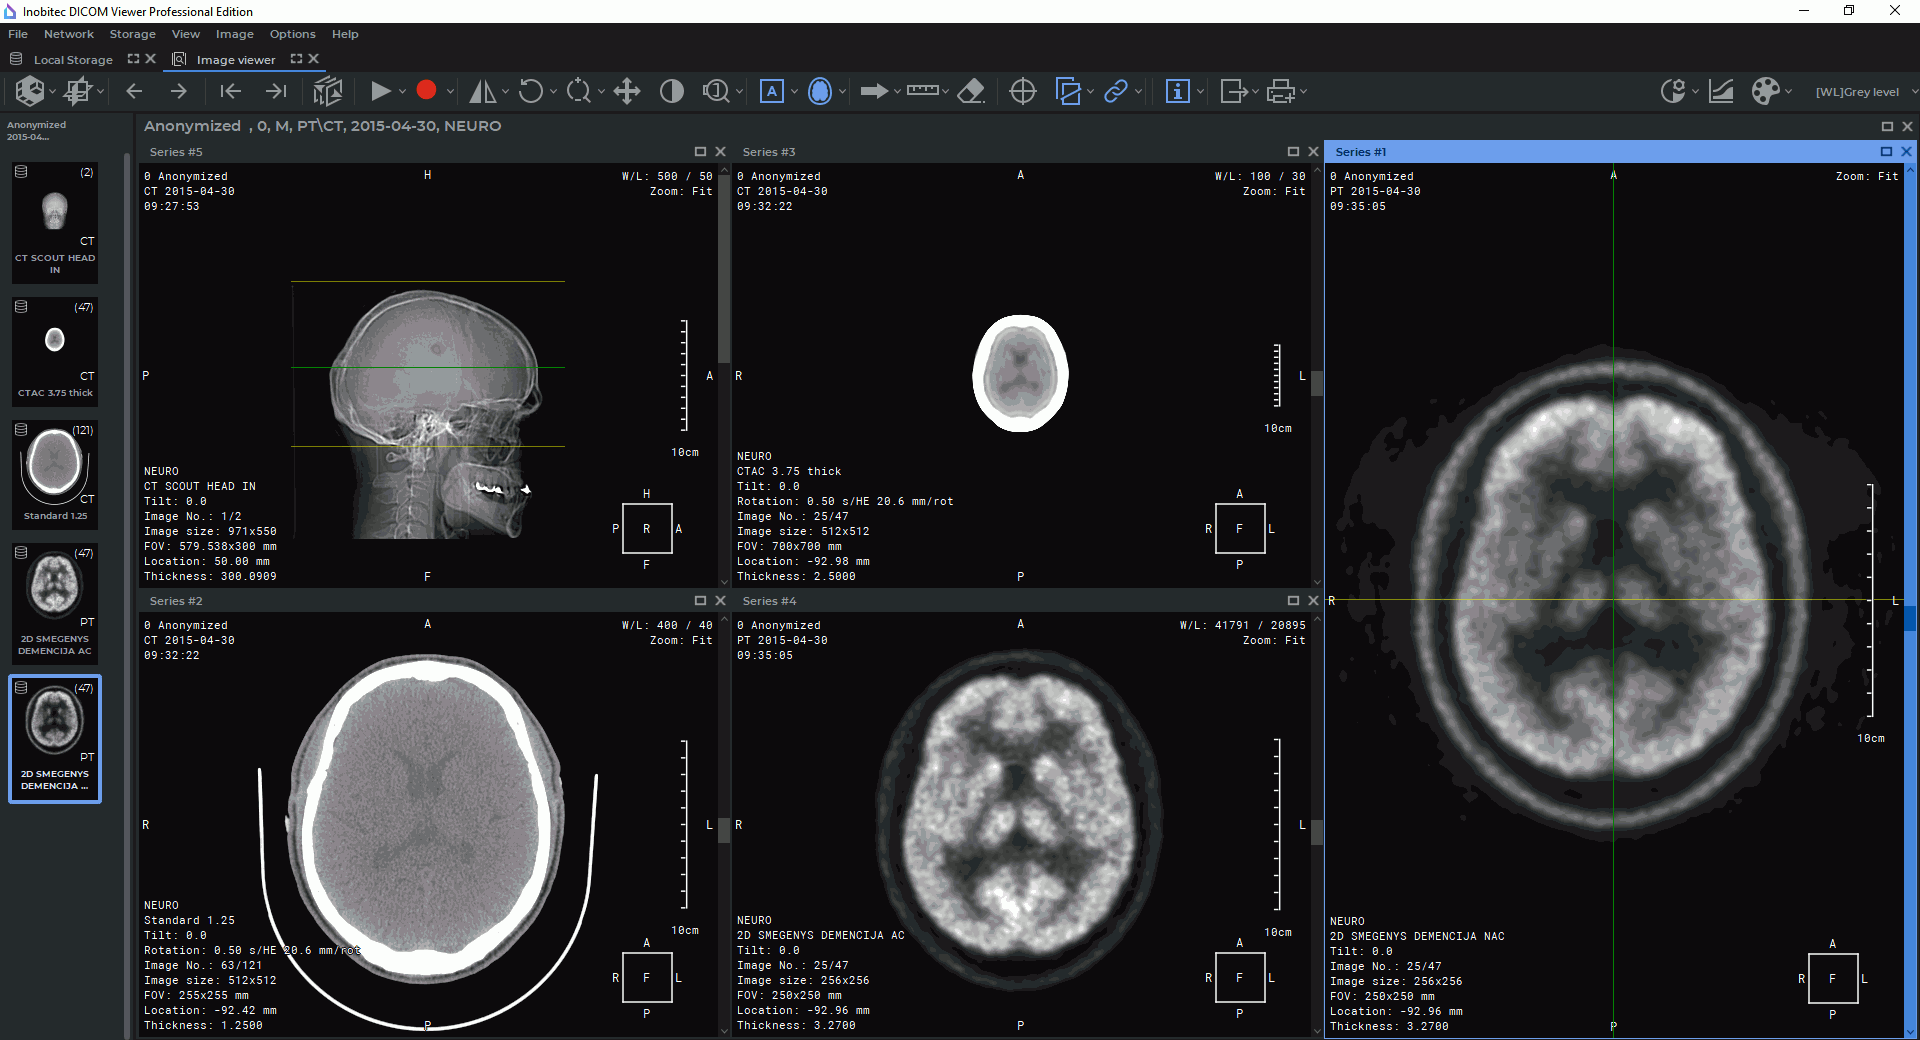
This mode is active by default. If two or more series are open, they will be located in the window and scaled automatically, occupying the entire window. Five series are displayed in Fig. 2.13.
There are three ways to activate this mode:
-
select the
 Automatic item in the Series arrangement button menu on the
toolbar;
-
locate the cursor to the window with the open series, right-click and select command Series arrangement->Automatic on the context menu;
-
on the main menu, select Image->Series arrangement->Automatic.
2.10.2 Stacked Mode
This mode allows you to open only one series in the study window. If you try to open another series, the current series will be closed.
Activate this mode in several ways:
-
select the
 Stacked item in the Series arrangement button menu on the toolbar;
-
locate the cursor to the window with the open series, right-click and select command Series arrangement->Stacked on the context menu; on the main menu, select Image->Series arrangement->Stacked.
2.10.3 Grid Mode
In this mode the study window is split into parts, and a series window can be opened in each of them.
To set up a 1x2, 2x2 or 2x3 grid, select the  2 near,
  2x2 or
  2x3 item in the
Series arrangement button menu.
These grid configuration types are available from the image context menu. Locate the cursor to the window with the open series, right-click and select command Series arrangement.
Selection of 1x2, 2x2 or 2x3 grid is available on the main menu Image->Series arrangement.
If the selected grid configuration has fewer cells than there are open series in the study, a warning dialog box pops up (Fig. 2.14), in which the program asks for a permission to close the open series.
Click OK to close the series, or CANCEL to cancel.
There are two ways to disable the warning dialog box:
-
Check the Don’t show this dialog again box in the dialog (Fig. 2.14) and click the OK button.
-
On the main menu, select Options->Settings...->Modules->Image Viewer, then choose the Image arrangement tab and uncheck the Confirm series closure on the arrangement changing box. For more information on the module settings see Section 16.7.1.
Click OK to apply the settings or Cancel to cancel.
2.10.4 Custom Mode
A grid may have from 1 to 100 cells. The maximum number of rows and columns is 10. This mode can be set by default (see Section 16.7.1).
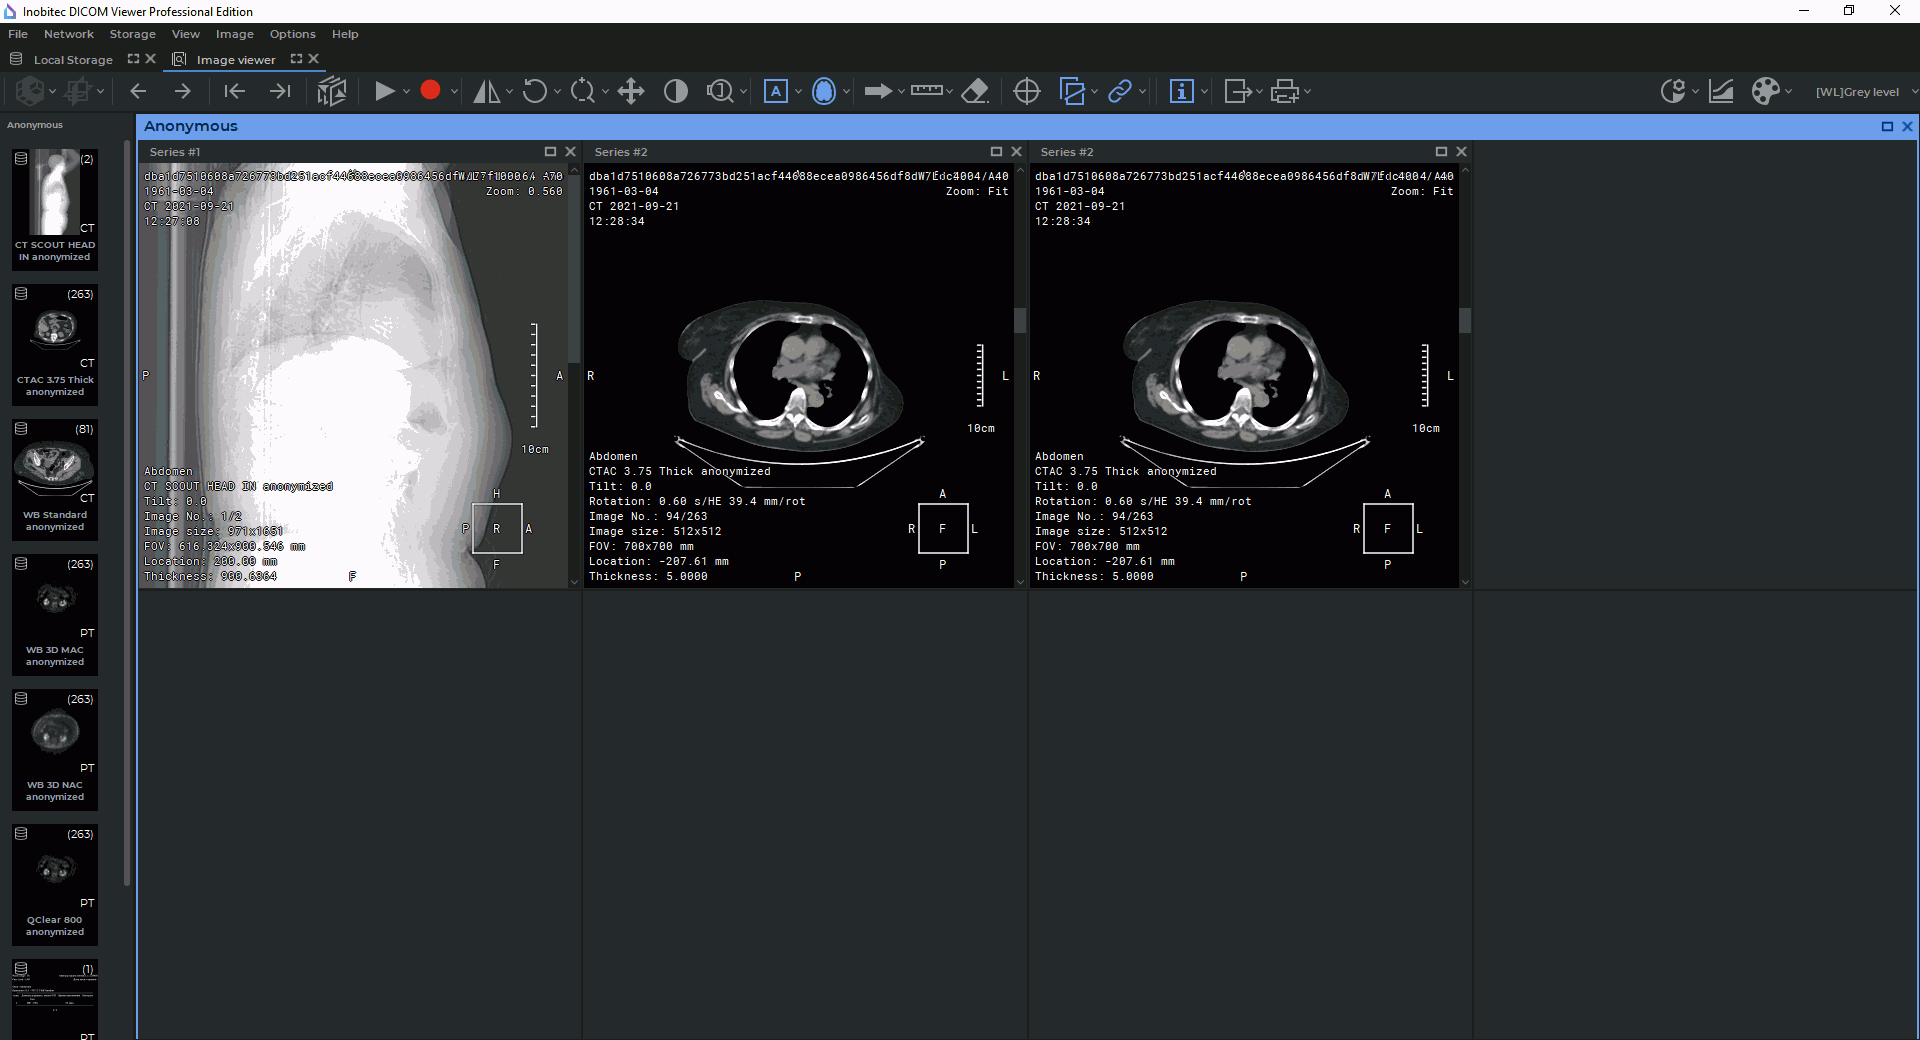
Fig. 2.15 illustrates a 2*4 grid with three cells filled.
To define your own grid configuration perform the following:
-
select the
 Custom arrangement... item in the Series arrangement button
menu;
-
locate the cursor to the window with the open series, right-click and select command Series arrangement->Custom arrangement... on the context menu;
-
on the main menu, select Image->Series arrangement->Custom arrangement....
This mode can be set by default (see Section 16.7.1).
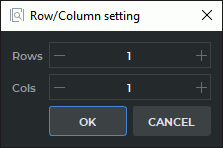
In the Row/Column setting dialog box (Fig. 2.16) enter the number of rows and columns of the grid.
For customized grids, the DICOM Viewer allows for auto-fill of the cells with the current study series. The auto-fill function is disabled by default. To enable it, on the main menu, select Options->Settings...->Modules->Image Viewer, then choose the Image arrangement tab and check the Automatic fill with series box. For more information on the module settings see Section 16.7.1.
When a series is opened in a new tab, the other series are opened in the cells available. The cells are sorted by serial number.
When positioning series on the grid, the DICOM Viewer allows you to move the boundary
between cells. To do this, move the cursor to the panel border so that it would look like  or
or
 and drag the border holding the left mouse button. Setting the priority of horizontal or vertical
separator is described in Section 16.7.1.


