First run of the Program
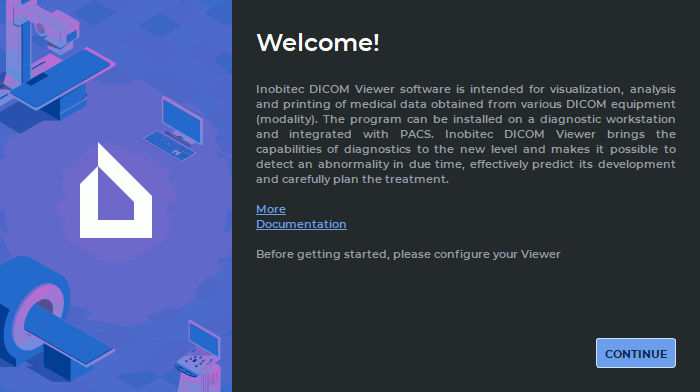
When you first start the DICOM Viewer, the welcome panel opens (Fig. 16). The welcome panel may also be displayed at the first startup after the upgrade the DICOM Viewer. Initialization of the DICOM Viewer is performed in the welcome panel.
The following information is displayed in the welcome panel:
-
Link More. Download page Inobitec DICOM Viewer is available at this link.
-
Link Documentation. Clicking the link brings up the help system of the DICOM Viewer. If the help system for the current language is not installed, a dialog box is displayed with a warning and a link to online help.
To cancel the DICOM Viewer launch and initialization, press Esc on the keyboard. Select YES in the dialog box for cancelling initialization and launch (Fig. 17). If you do not want to cancel initialization and launch the DICOM Viewer click the NO button.
To complete initialization and launch of the DICOM Viewer main window, you need to follow all the setting up steps provided in the welcome panel. If the user cancels the DICOM Viewer initialization, the welcome panel will pop up the next time the program is launched.
To go to the next page, click the CONTINUE button.
-
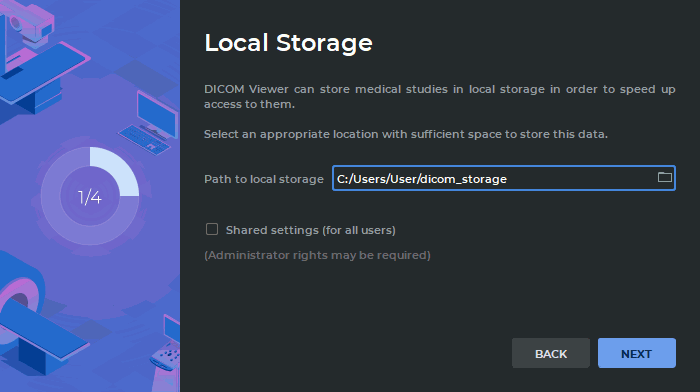
On the page Local Storage (Fig. 18) change the path to the Local Storage DICOM data. We recommend leaving the default value.
The path to the Local Storage can be changed by the user after initialization of DICOM Viewer. For more information see Section 16.1.
To make the Local Storage for all the users of this PC, check the Shared settings (for all users) box. This mode is disabled by default. It can only be done if the DICOM Viewer was launched by a user with administrator privileges. The users who do not have administrator privileges cannot check or uncheck this box. In this case, an informational message is displayed (Fig. 19).
To continue initialization the DICOM Viewer click on the NO button. To close the welcome panel without saving parameter values, click on the YES button. The DICOM Viewer does not start in this case. The welcome panel will be launched at the next the DICOM Viewer start.
Click on the Next button to go to the next page, or Back to return to the previous page.
-
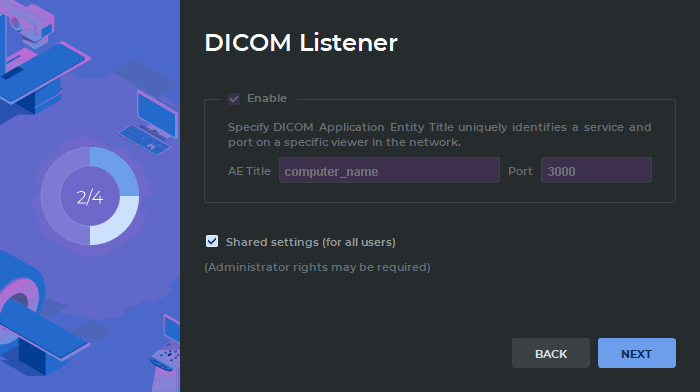
On the page DICOM Listener (Fig. 20) set the parameters of the DICOM listener service.
-
Enter the computer name (AE Title) in the field. The length of AE Title value shall not exceed 16 characters. Cyrillic letters and "\" symbols in AE titles are not allowed.
-
Enter the port. Default value 3000.
This functionality is descrided in Section 13.1.1 and can be configured later. If this functionality has already been configured in this computer, then the window shown in Fig. 20 will contain the values specified earlier. Parameters specified earlier for a specific user will not be changed if you install the program for another user or for all users.
To save the current settings for all the users of this PC, check the Shared settings (for all users) box. This mode is disabled by default. It can only be done if the DICOM Viewer was launched by a user with administrator privileges. The users who do not have administrator privileges cannot check or uncheck this box. In this case, an informational message is displayed (Fig. 19).
To continue initialization the DICOM Viewer click on the NO button. To close the welcome panel without saving parameter values, click on the YES button. The DICOM Viewer does not start in this case. The welcome panel will be launched at the next the DICOM Viewer start.
Click the NEXT button to go to the next page or the BACK button to return to the previous page.
-
-
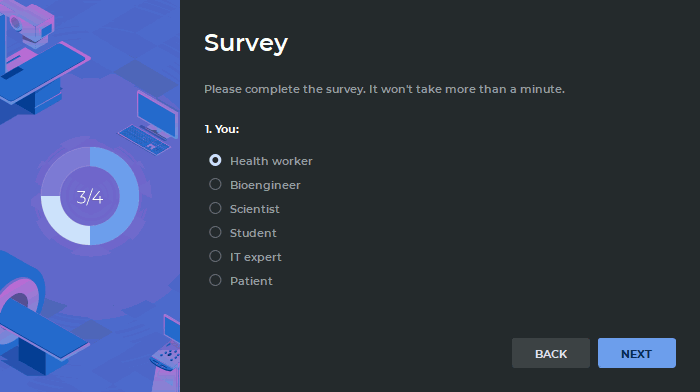
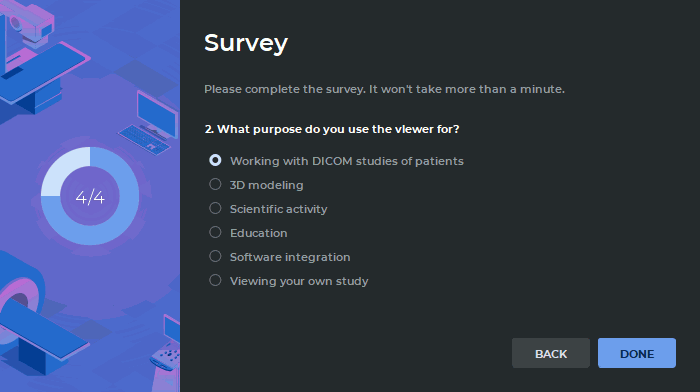
Take part in the survey by answering the two questions on the Survey pages (Fig. 21 and 22).
To answer a question, choose one of the options provided by selecting the respective radio button. The NEXT button will be activated as soon as the user chooses one of the options. To go to the previous step, click BACK.
The DONE button will be activated as soon as the user chooses one of the options.
Click the DONE button, to complete the initialization of the DICOM Viewer, or BACK to return to the previous page. If you return to the previous step, the current survey results are saved.

