Structured reports are used for transferring and storing structured medical documents.
A structured report contains information on the patient and the study. Series of structured reports have SR modality.
To view a structured report, open an SR series (see Section 2.1).
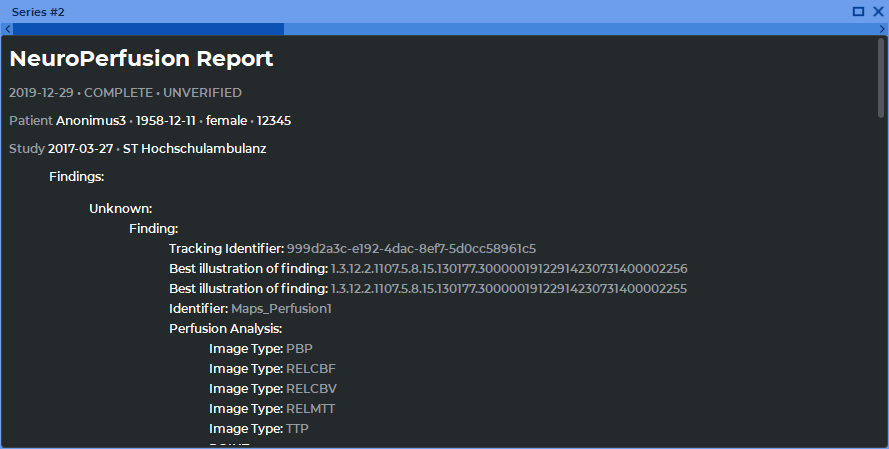
A series is opened in a new flat image viewer tab, in a separate window (Fig. 2.92).
In the structured reports viewer window, you can choose the mode for arranging series (see Section 2.10). The automatic mode is selected by default.
At the top of the structured reports viewer window, you can see general information on the patient, the study, and the report status. In the lower part of the window, you can see structured information.
If an SR series comprises more than one document, you will see a horizontal scroll bar at the top of the window. The order of the documents depends on the names of the files containing such documents. There are several ways to switch between documents:
by moving the slider;
by hovering over the scroll bar and scrolling the mouse wheel;
with the help of Switch to the previous image  and Switch to the next image
 buttons on the toolbar.
Structured reports cannot be edited. The data can be copied to the clipboard and then inserted in the report editor (see Chapter 18) or in any text editor. There are two ways to copy text from the structured reports viewer window to the clipboard:
select the text, open the context menu by right-clicking on the text, and click Copy;
select the text and press Ctrl+C (or the Command+C for macOS) on the keyboard.
There are several methods to select text in the structured reports viewer window:
to select a word, double-click on that word with the left mouse button;
to select a line, click three times on any word in that line with the left mouse button;
to select a text fragment, place the cursor before the first word of the fragment, click the left mouse button and drag the cursor to the end of the fragment while holding the button;
to select the complete text of the document, open the context menu by right-clicking within the window and choose Select all. Alternatively, you can press the Ctrl+A (or the Command+A for macOS) combination on the keyboard.
To maximize the report window and restore its size, proceed as follows:
double-click with the left mouse button on the title of the series window;
click on the Expand  button in the right-hand upper corner of the series window.
To close the window with structured reports, click the Close  button on the right-hand side
of the window header.