Installing, Uninstalling and Running the Program on Windows
Installing the Program using the Installer
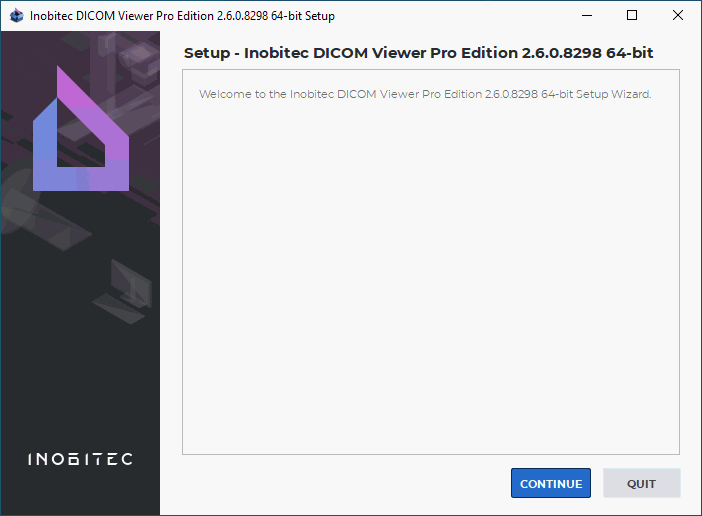
To install the program:
-
Run the installer by double-click.
-
Click CONTINUE in the window shown in Fig. 1.
-
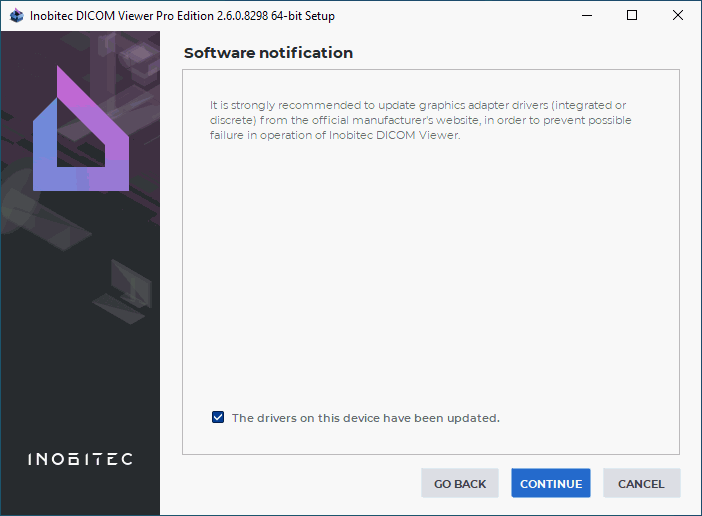
It is strongly recommended to update graphics adapter drivers (integrated or discrete) from the
official manufacturer‘s website, in order to prevent possible failure in operation of
DICOM Viewer. If you are sure that drivers are up to date check the The drivers on
this device have been updated box in the window shown in Fig. 2, and click
CONTINUE. Otherwise stop installation (click CANCEL and in the confirmation dialog
click Yes) and update drivers. To return to the previous installation step click GO
BACK.
-
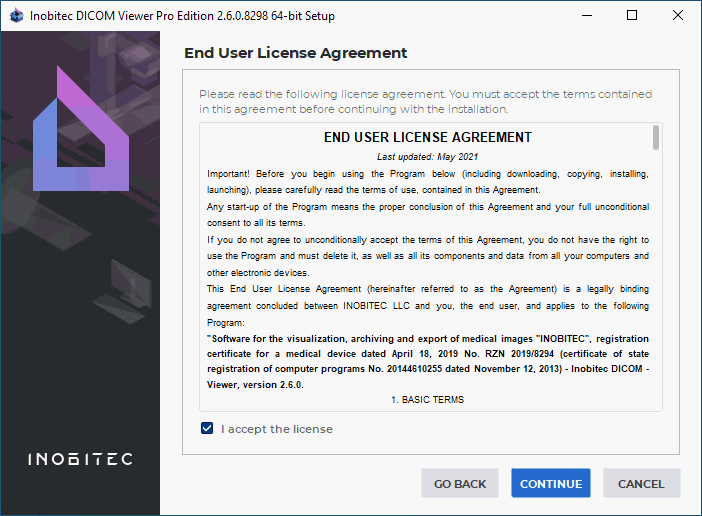
Read the License Agreement carefully. Its text is also available from the link
https://inobitec.com/about/viewerLic/. If you agree the terms and conditions, check the
item I accept the license and click CONTINUE (Fig. 3). Otherwise click CANCEL and in
the confirmation dialog box that appears click Yes.
-
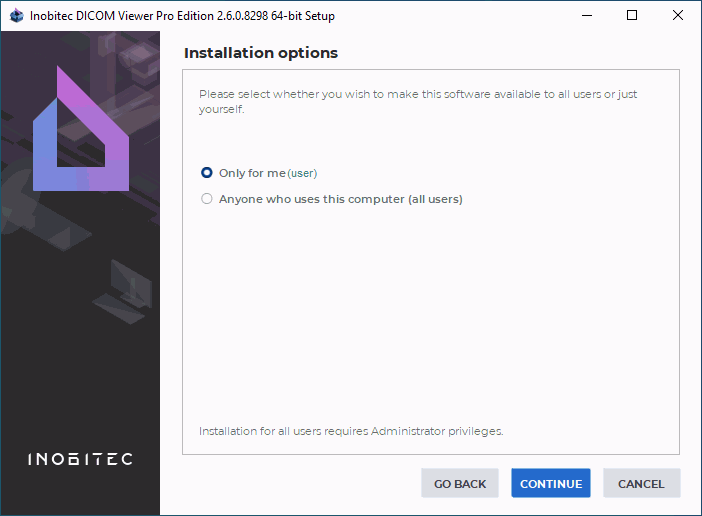
Select for whom you want to install the program (Fig. 4). If you select Anyone who uses this
computer (all users), then the program will be installed to the system folder, and you will
need administrative privileges.
-
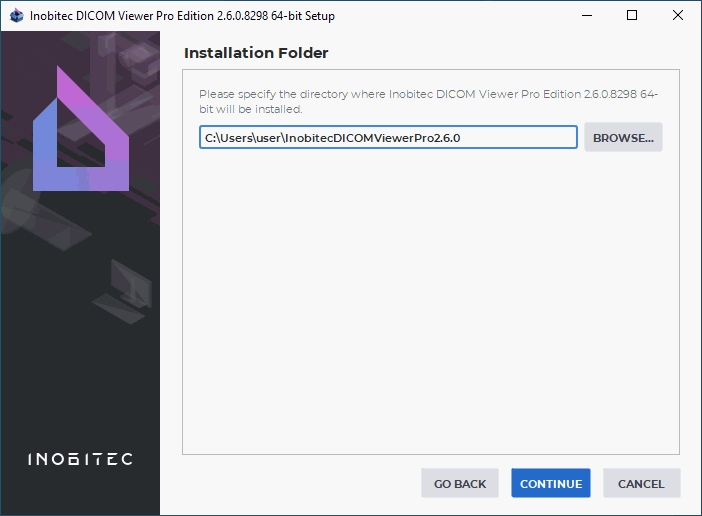
If necessary, change the Installation Folder (Fig. 5). We recommend leaving the default value.
Click CONTINUE.
 | Attention:
-
it
is
prohibited
to
specify
a
path
with
only
the
disk
root
(e.g.
D:\);
-
it
is
prohibited
to
specify
folders
created
by
other
users
and
third-party
software;
-
when
the
program
is
being
installed
for
all
the
users,
specify
a
folder
that
can
be
accessed
by
all
the
users. |
-
If another version of the program is already installed in the selected folder, then the message
The directory you selected already exists and contains an installation. To install the
product the installation will be uninstalled first will be displayed.
To uninstall, click Yes. The uninstaller will start (see the Section Uninstalling the Program
on Windows). After the uninstall the installation will continue.
To leave the already installed version of the program and select a new folder to install, click No
and in the window shown in Fig. 5, specify another folder.
-
If you select installation for all users, then you need to specify the Common Directory to store
the program service information (Fig. 6). If necessary, change the path to the Common
Directory. We recommend leaving the default value. Click CONTINUE.
-
If the DICOM Viewer is meant to be integrated with third-party systems, activate the program
launch with the help of URL commands by checking the Register the schema "inobitec" to
launch a viewer with parameters from browser box in the Extended parameters
window (Fig. 7). The box is unchecked by default. For details on how to launch the program
with URL commands, see Section 20.2.
-
To enable launching the DICOM Viewer and opening studies via the Explorer context menu,
check the Launch the viewer from the context menu box in the Extended parameters
window (Fig. 7). The box is checked by default. For details on opening studies from the
context menu, see Section 1.5.4. After the program is installed, this function can be
controlled from the Behavior section of the DICOM Viewer configuration window (see
Section 16.3).
-
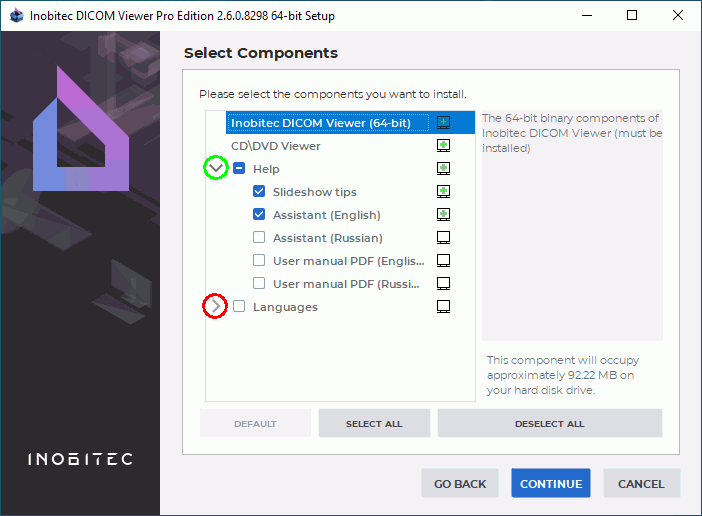
In the Select Components window, (Fig. 8) select the required components by check the
boxes. To expand or collapse the component tree, click on the symbols to the left of the
component group name (highlighted in red and green in the Fig. 8):
For detailed information about a component select it with the mouse.
-
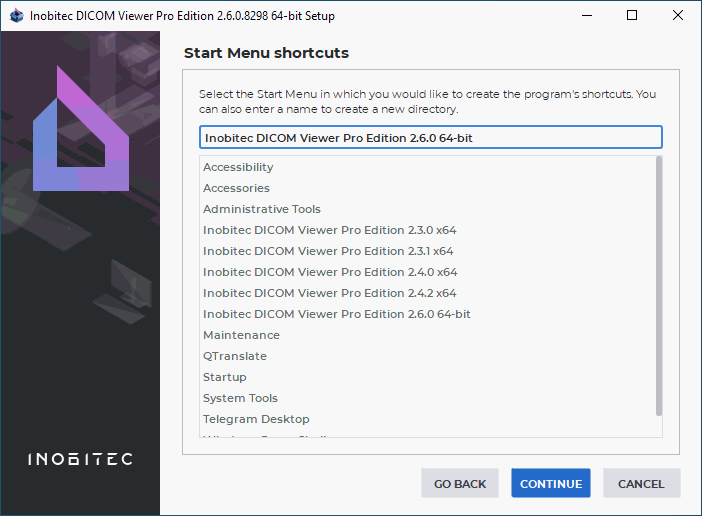
If necessary, change the folder for the program’s shortcuts in the Start menu (Fig. 9). We
recommend leaving the default value. Click CONTINUE.
-
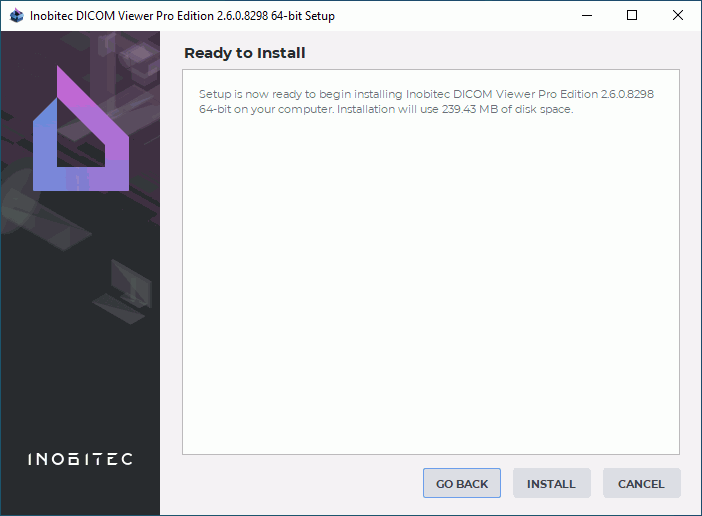
In the confirmation window click the INSTALL button (Fig. 10).
-
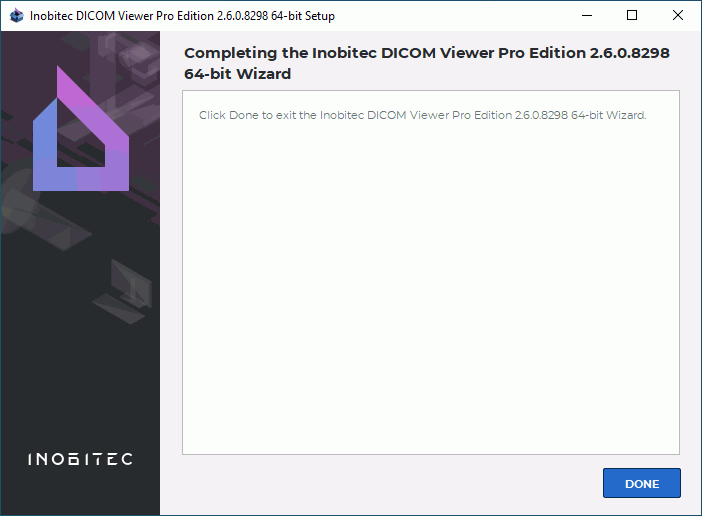
Wait until the installation process is complete (Fig. 11). Click the DONE button.
Silent program Installation
Silent installation allows you to speed up and automate the process of installing the program by
submitting the installation parameters to the installer through the file. Such installation can be
launched automatically on domain computers using Microsoft Active Directory.
To prepare the installer for a silent installation:
-
Unpack the installer to a folder using an archiver (for example, 7-zip).
-
Go to the folder where the installer is unpacked.
-
Edit the following parameters in the autoinstall.qs file:
-
AllUsers = false to install only for current user (by default) or AllUsers = true
to install for all users;
-
TargetPathName: path to folder to install the DICOM Viewer. If AllUsers = true
then
the default value is C:\Program Files\InobitecDICOMViewer<Edition><Version>,
if AllUsers = false then default value
isC:\Users\<CurrentUserName>\InobitecDICOMViewer<Edition><Version>.
If necessary, specify another value.
-
CommonPath: path to the common folder (only if AllUsers = true). The default
value is C:\ProgramData\InobitecDICOMViewer<Edition><Version>. If necessary,
specify another value. All users must have write access to the specified folder.
-
LocalStoragePath: path to the local storage. The default value is
C:\Users\<username>\InobitecDICOMViewerWorkspace.
-
OptionsFilePath: path to the file with settings exported from an already installed
DICOM Viewer. For details on how to export settings see Section 16.9. If the file is
not specified, the default settings are used.
-
ForceInstall = false to remove the previously installed version of the DICOM
Viewer in the folder selected for installation.
If national characters are used save the autoinstall.qs file in utf-8 encoding.
To install the DICOM Viewer run the silent_install.bat file. Log is written to file
%temp%\install%DATE%.log, where %temp% and %DATE% are Windows system variables.
Uninstalling the Program using an Uninstaller
To uninstall the program:
-
Run the uninstaller using one of the following methods:
-
select Inobitec Dicom Viewer -> Uninstall in the Start menu or
-
use Programs and Features in the Control Panel.
-
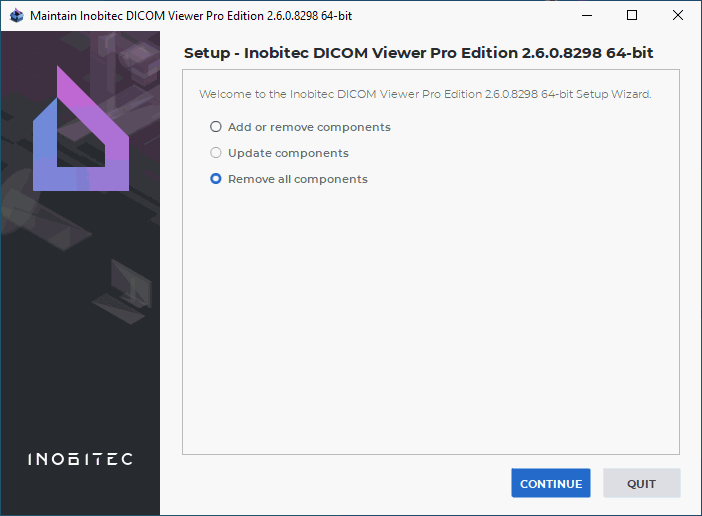
Make sure that the item Remove all components is selected in the window shown in Fig. 12
and click the CONTINUE button.
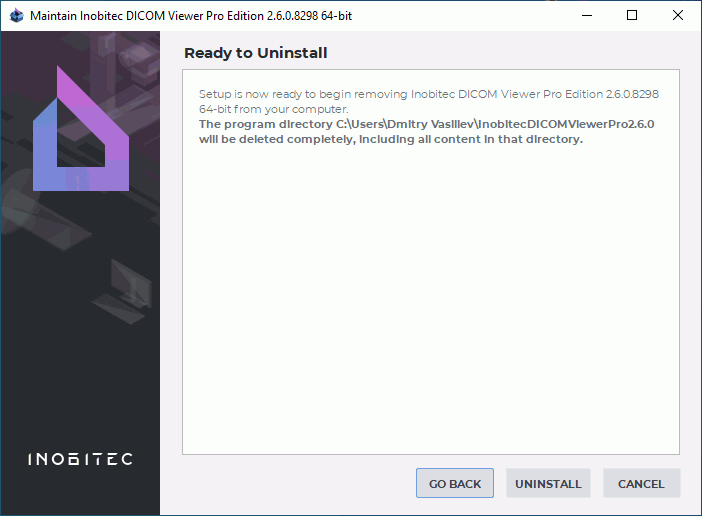
-
In the confirmation window click the UNINSTALL button (Fig. 13).
-
In the confirmation window click the DONE button (Fig. 14).
Silent Uninstallation the Program
Silent uninstallation allows you to automate the process of uninstalling of the program similar to
silent installation.
To prepare the installer for a silent uninstallation:
-
Unpack the installer to a folder using an archiver (for example, 7-zip).
-
Go to the folder where the installer is unpacked.
-
Change the <Disk:\Full\Path\To\Installed\DICOMViewer\You\Want\To\Uninstall>
text for the path to the folder with the DICOM Viewer to uninstall in the
silent_uninstall.bat file.
To uninstall the DICOM Viewer run the silent_install.bat file. Log is written to the
%temp%\uninstall%DATE%.log, where %temp% and %DATE% are Windows system
variables.
Running the Program
Starting from version 2.6 the DICOM Viewer shortcut in Windows operating systems is displayed in
the format: <Inobitec><Edition><Version>.
The editions available are:
-
PRO — professional;
-
LITE — simplified;
For example Inobitec PRO 2.6.0.
Each version and edition of the DICOM Viewer installed in Windows has their own shortcuts on
the Desktop and the Start Menu to ensure the convenience of launching.
To launch the program, double-click on the desktop shortcut or click on the shortcut from the
Start menu.
On Windows, the DICOM Viewer may be launched by dragging and dropping the data folder on
the program icon. The studies contained in the folder will be opened in a new tab DICOM data in
the folder, and, depending on the data type, the first series of the first study on the list will be
opened:
-
In the Flat image viewing tab;
-
In the ECG viewing tab;
-
With the PDF viewer (if installed), by default;
-
In the DICOM Tag Viewing tab, if the series cannot be opened in the above mentioned
tabs/by the above mentioned programs.
If the DICOM Viewer has already been launched, the data will be opened in it. If there are no
data in the folder to be displayed, an empty tab DICOM data in the folder will pop
up.
You will find detailed information about launching the DICOM Viewer with third-party software
and software suites in Chapter 20.